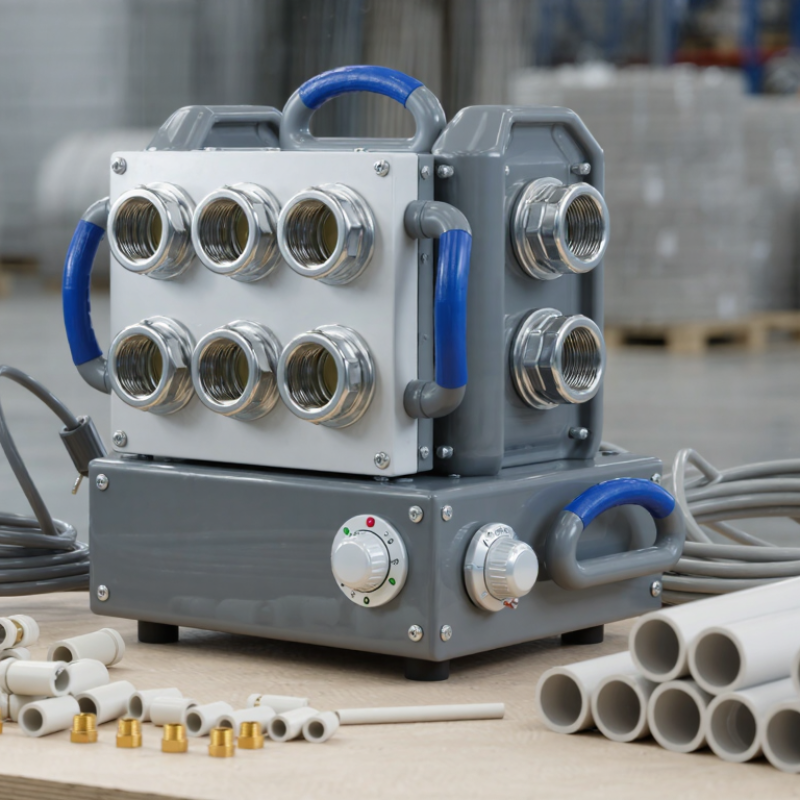
| Machine function | Heats PPR pipe and fitting sockets for thermal fusion | A PPR heater machine normally combines a thermostatically controlled heating plate with interchangeable male and female heating dies. Cutting and alignment are usually performed with separate preparation tools. |
| Common pipe size range | Approximately 20–63 mm for handheld socket-fusion equipment | Larger diameters generally require heavier heating equipment, dedicated clamping, and more controlled alignment procedures. |
| Heating temperature | About 260°C for standard PPR socket fusion | The exact setting should follow the pipe system specification and the applicable installation standard. Temperature stability is more important than simply reaching a high temperature. |
| Heating-system control | Thermostat or electronic temperature controller | The controller cycles the heater to maintain the target temperature. The heating surface should be clean and evenly coated to prevent material sticking. |
| Pipe cutting tool | Ratchet pipe cutter, wheel cutter, or fine-tooth saw | The cut should be square to the pipe axis. An angled cut reduces the effective contact area and can create an uneven fusion bead. |
| Cut-end inspection | Clean, burr-free, and free from cracks or deformation | Remove loose chips and burrs before heating. Do not use damaged pipe ends or parts contaminated with oil, grease, or dirt. |
| Surface cleaning | Clean, dry, lint-free cloth | Wipe the pipe exterior and fitting socket immediately before fusion. Avoid abrasive contamination and solvents that are not approved for the pipe material. |
| Insertion-depth marking | Mark the manufacturer-specified socket insertion depth | The mark helps prevent under-insertion, which may reduce joint strength, and over-insertion, which can restrict the internal flow passage. |
| Alignment before heating | Pipe axis and fitting axis should be straight and concentric | Use a guide, clamp, or alignment fixture when needed. Do not force a crooked pipe into the fitting during the heating or joining stage. |
| Heating sequence | Pipe enters the female die; fitting socket enters the male die | Both surfaces are heated at the same time. Keep the pipe and fitting aligned with the dies and avoid twisting during insertion. |
| Heating time | Typically about 5–30 seconds for common 20–63 mm sizes | The correct time depends on outside diameter, wall thickness, temperature, and the applicable joining instructions. Use the approved fusion chart rather than a single universal value. |
| Joining after heating | Remove both parts and push them together axially | Join promptly, without rotation, until the insertion mark reaches the fitting. Excessive force can cause an oversized internal bead. |
| Cooling and stabilization | Hold stationary during initial cooling | Avoid bending, twisting, pressurizing, or loading the joint until the specified cooling period has elapsed. |
| Fusion-bead inspection | Continuous, uniform bead around the joint | A consistent bead generally indicates even heating and insertion. Gaps, scorching, severe asymmetry, or visible contamination require evaluation and may require cutting out the joint. |
| Operator safety | Heat-resistant gloves, eye protection, stable work area | The heating plate can cause serious burns. Keep combustible materials away, use the machine on a stable surface, and disconnect power before changing dies or servicing the unit. |